Thursday, December 20, 2012

Holiday Train Display

At the very last minute we decided to put up a small holiday train display. We were originally going to go all out, with as much time as we had left, but decided to make some compromises in lieu of the time constraints. We took a piece of 2 inch foam insulation and cut it to size of a table we decided to use, laid down some cork roadbed and track in a very simple oval. We had original thought of going with a more realistic snow using purchased snow products or baking soda, but opted to simply use batting material. Not perfect, but for this year, good enough.


Sunday, November 11, 2012

Trainfest 2012

We attended Trainfest 2012 and had a pretty good time. There was a lot to see, do and buy. Seeing all of the professional modelers and their work has given me a few ideas on how to continue on our Family Railroad. 


Sunday, October 21, 2012

Elevations in Operation


I finished laying the track for my inside run, a standard figure 8. I used long stick pins to hold the track in place and regular track spikes where the foam thinned out to reach the plywood below. Overall I am happy with the results of both the home made pink elevation and the Woodland Scenic. There are obviously some spots I will massage over time, like the bump going from the low elevation to the foam.

The video was shot with my old camcorder as my HD video was having issues.

Next up is starting to plan the scenery while adding in some turn outs to join the two runs together and run some track into the open spaces to be filled with buildings.

Note: You Tube "Auto" fix mangled the video even worse. I will post a better video once I fix my HD problem.

Wednesday, October 17, 2012

Lessons in Foam

I finally got around to starting the middle run of my train project. I had originally thought I could build the 3% incline myself, had a few set backs and in the end built one side myself. I have them pinned in place and will get them glued down and track installed hopefully this weekend.


The white side are store bought Woodland Scenics 3% incline set. I purchased this set because I got a great price and it was after my initial failures when I thought I would simply purchase the set. The pink or obviously my set.

I am not 100% happy with my set, but I will not re-do them at this point in the project. The big thing with the foam cutter is NiChrome wire and variable voltage. For those modelers with patience, it is a reasonable alternative. For me, the cost of foam and parts for the cutter were only slightly cheaper than having to purchase 2 full sets of inclines.


The one discussion group/guide on building inclines indicated that using a hack saw to cut the slats to allow the foam to bend. Don't do that. It may be slightly quicker, but the end product is not as clean. I used a molding hack saw on the first section and was really disappointed. I used the foam cutter on the rest and they turned out way better.

On to more track then to real wiring.

Friday, September 28, 2012

Homemade Hot Wire Foam Cutter

Having the day off of work today I decided to return to my problems of creating smooth foam elevations for my trains. I got some old scrap lumber, removed a shelf from a cheap cabinet we no longer use and started building a hot wire foam cutter.


The construction is obviously pretty simple. I used an eye bolt at the top to be able to adjust the wire tension, an eye screw below, a high E guitar string and my trickle charger set to 12v/2a.

It only took about an hour to construct and get ready. I connected the alligator clamps and fired it up. As expected, the wire got hot and wiggly, so I turned the charger off and adjusted the string tension. Fired it back up and it started to work cutting a few pieces of test foam.


The fly in the ointment was that 12v/2a eventually melted the wire. So I restrung more guitar wire and plugged it in and within a few seconds, the wire had melted. I will move up the the B string which is a little heavier gauge wire. If that does not work, I will have to find a way to reduce the amount of power or find some wire specifically designed to withstand heat.


After lunch, I will try the heavier wire and see how it goes.

update: I dropped the voltage down to 7.5 and that did the trick. For now anyway. I still may want to pick-up some nickel-chromium resistance wire if this is something I want to do beyond these few initial cuts.

Sunday, September 23, 2012

Gunk, Goo, Funk

Having put my dreams of building foam risers aside for the moment, I decided to have a little fun and run some trains around my lone circle.  While I was running some of my newer locomotives, that I just learned had something called scale engines in them, I began to wonder if perhaps some of the cars the locomotives were pulling were contributing factors in the less than stellar performance.

The answer was of course, though I am not a giant fan of scale engines, some of my rolling stock was horrendous.


All of my rolling stock is around 30 years old. I am really sort of surprised I hadn't noticed the condition of some if it prior to tonight, but better late than never!

I decided the break out some tools to restore the wheels to their former glory. I grabbed some old dental tools I had laying around and my Dremel.


At first I tried to simply use the wire brush on the Dremel to whisk my troubles away, but the gunk was so thick it mostly just smeared it around. What I ended up doing was using one of the more flat bladed dental tools to lightly scrape up the years of goo and then finished them off with a quick go over on the Dremel.

We have not put in place a new train rule. No car goes on the track without wheel check and cleaning.

(Super Special Note: Always wear safety glasses when using a Dremel or other motorized tools! Ouch!)

Saturday, September 22, 2012

Piles of Foam

I had this half-baked idea that I would go to Menards, pick up a 4x8 piece of foam insulation and within minutes have made a set of risers that would rival the Woodland Scenics product. That was the plan and it sure started out good!


I actually put some planning into this project, did some research and did a little math to plan a proper elevation percent, you know, rise over run!

I had purchased 2" foam and planned on using an extendable knife. The first problem I ran into was the knife blade was not long enough nor stable enough to make a good cut through the foam. So I then tried the cut on both sides and while it worked, it was problematic at best. I also tried the method of scoring one side halfway through and then simply breaking the piece away. This method actually was not horrible. It did leave the foam a bit uneven and in need of sanding.

Another lesson learned is having the proper working space is essential. I did not have a great space to do this work and as a result, worked on the basement floor in a cramped space.


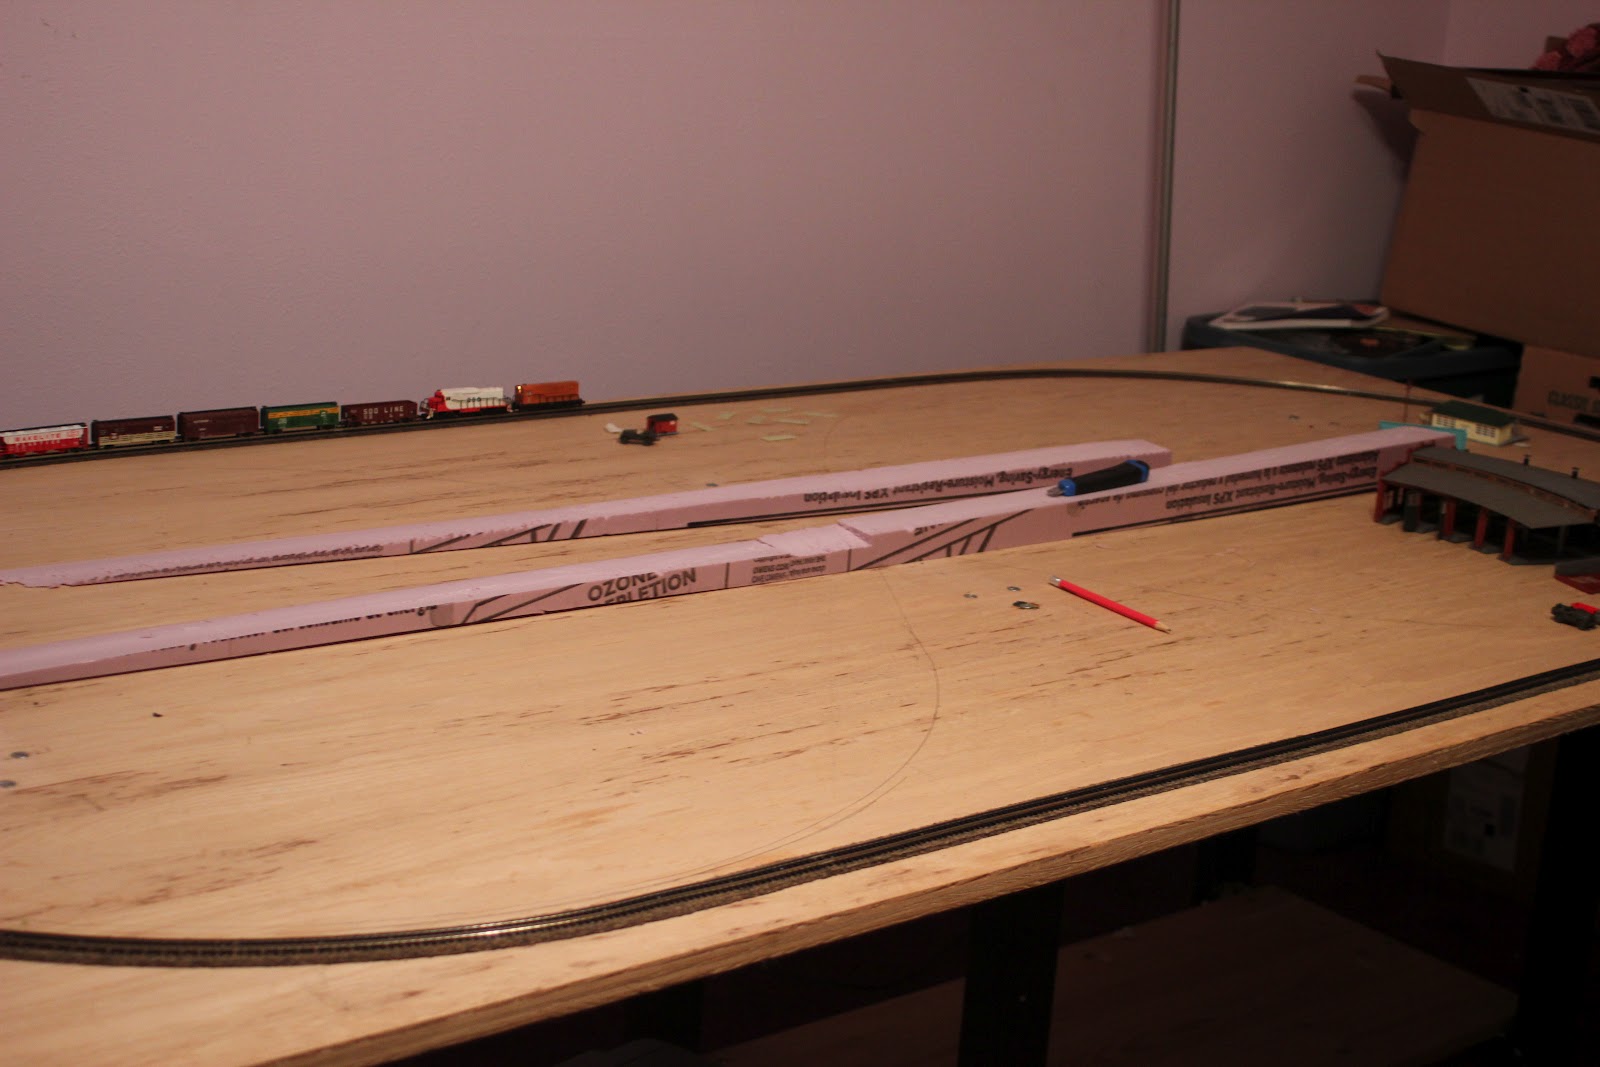
You can see that my first cuts had large missing chunks. In a few subsequent cuts I did manage to get a set pretty close, but still in need of some large amount of sanding to smooth out some wavy spots and given enough time, I probably could get a working set of risers.


In the end, the cost of making your own risers will get very close to, and in my case, surpass the cost of simply purchasing a set of professionally made risers. This is obviously a personal choice and those who really enjoy the working with their hands and have the time and talent, making your own is not impossible. For me, I have a pile of foam that will make great mountains and other structures, but probably not a set of risers!